I was informed, that we would need my conservatory so we could build the scenery there and it was suggested to Tallyho that he do some research on the subject.
I don't think he was prepared for our response to what he had delegated, our interest was piqued by this little known operation and we soon discovered there was far more to it than as suggested in the original scenario he had discovered. Unfortunately our desire to properly represent the thoughts and planning that had gone into 'Operation Chastity' and 'Operation Hands Up!' resulted in a parting of the ways as our good friend felt we had taken over his project.
As a result I found myself tasked with building a 10' x 5' gaming table. Previous to this I had only done small pieces of 28 mm terrain, Jungle scenery and Industrial scenery, so I was a little disconcerted.
Tallyho spent a lot of time researching the island 'Belle Isle Sur mer, 'Le Palais 'and the projected landing areas. As a result he had printed off a 10'x6' tabletop map.
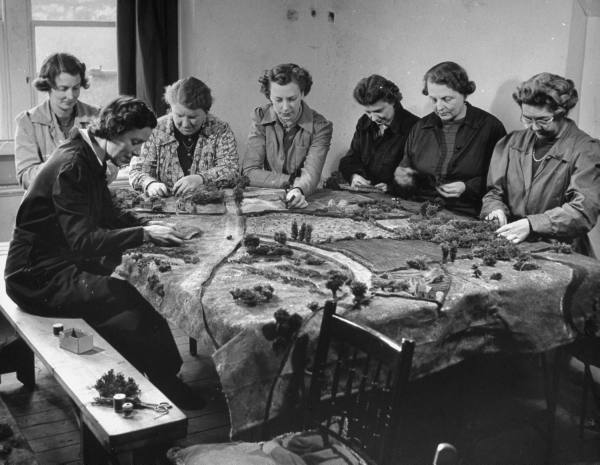
The image below is of the first trial practice game, you can see how the map alone began to shape the projected terrain.

 After the trial game it became apparent that some changes needed to be made to the map and my argument to reduce it's width from 6' to 5' was accepted as we hadn't used the inland 12" strip, so now as I had hoped it would fit in most hatchbacks.
 When we had first discussed the possibility of the game I had wanted 'the team' to consider some alternatives to the usual polystyrene boards
 In part encouraged by Alcal's [of SoGGs] beautiful creations I had also wanted to incorporate some of the textured finishes I'd seen
For example, this from WW2 built for RAF pilots and navigators to recognise what terrain looks like from a great height.
Stunning work and so realistic, look at the shadows for example.
So I had to start thinking about materials not only to finish off the terrain, but also to build the boards.
Doing a little research I came across examples of people using felt, corduroy, towelling and carpet.
Previously we had used chipboard with a layer or two of polystyrene on top, with 'Artex' rendered on that to protect it.
(How many times had I created a depression when gaming as an elbow or fist rested on those boards while measuring or moving a piece?)
 Although I wanted something harder I also needed a serious 3D look, I had cliffs to build, I considered both blue Foam and Kingspan.
I decided on Kingspan as it was the cheapest.
I discoveredSo I had to start thinking about materials not only to finish off the terrain, but also to build the boards.
Doing a little research I came across examples of people using felt, corduroy, towelling and carpet.
Previously we had used chipboard with a layer or two of polystyrene on top, with 'Artex' rendered on that to protect it.
 |
| From the site Terragenius |
(How many times had I created a depression when gaming as an elbow or fist rested on those boards while measuring or moving a piece?)
 Although I wanted something harder I also needed a serious 3D look, I had cliffs to build, I considered both blue Foam and Kingspan.
I decided on Kingspan as it was the cheapest.
1) It has two layers of glass fibre sheet reinforcement through it so gloves should be used, the good news is that this also creates two stratum lines in cliffs, issues in other areas can be 'filled', it also makes a fantastic break line for you to create a new level area.
2) it is very resistant to vertical pressure but gives easily if you push sideways into it. This allows you to shape the material with your gloved fingers and use your gloved hand to 'sand/polish' the finish.
3) It also gives off an odour that probably shouldn't be breathed in, as well as a fine dust, non static and easily hoovered up, [warning clogs hoover quickly and probably also lungs so use a mask].
The following pictures show the sculpted board before I added the 'surface' features.


Next stage was to 'paint' this 3D canvass to look like these.


I wanted to ensure that the terrain was level with no attached buildings/projections so that it would be easier to pack/transport.
This would be made easier as the island is essentially a plateau with deep scrub and wood filled valleys.
I achieved texture by using cheap [ASDA] towelling, felt and corduroy, wall paper was used for cobbled streets and sea waves, oh and sand for the beach 😁 .
Some part finished and finished views, sorry about the 'yellow' picture, poor lighting.

White areas still need painting or application of printed card, the fort still needs to be built.
 |
| Close up of the 'dock/port', town & fort bases are removable mdf inserts that hide the joins. |

 |
| Finished lots more trees need to be pushed into place. |
Thanks for reading this.
Credit to various suppliers for the buildings although Russ (aka Rusty Bullet) built the windmill and a number of other items whilst I built the Napoleonic fort.
Other blogs on the same subject.


No comments:
Post a Comment