Monday, 9 September 2024

AAR ECW 10mm 7th September 2024

Previous battle

Lucky to get another game in. For the moment we are still using the same units, as we learn and I have realised that units and their strengths vary over the ECW period. The main thing is that mistakes aren't repeated.

This was a 2nd game against Christoph and we decided to add a road and town. Christoph fielded the Royalists again and we both placed our armies without knowing the disposition of the enemy. When I looked up I saw these units arrayed in front of my centre. Again I am on the right, Christoph and the Royalists on the left.


So we had two hills with a road running through it and a small town on the bend of the road and areas of woodland to the bottom. 

I'd put most of the cavalry to my right, leaving a single cavalry unit and dragoons, with associated muskets to protect that flank, on looking at Christoph's disposition I see all his cavalry opposite mine whilst the dragoons, some Shotte and a pike company are protecting his right flank.


Turn one
I started moving my centre forward one pace, my left wing advanced to the woods to threaten his right wing. My main cavalry  advanced a pace and my commanded Shotte reached the town.

After Parliament's first move

Christoph advanced his right Pike to block my small cavalry whilst his dragoons and Shotte entered the woods, ready to traversing shot any cavalry daft enough to pass. 

His centre blundered rolling a 1 and left the table. But some shotte moved down from the hill to take the town.

Whilst his right flank of 4 cavalry and one cuirassiers charged forwards, his luck didn't improve he charged my unsupported unit with a support in tow. I beat him off and swept into his support, losing the combat and pulling back, wounds all around but nobody shaken. 

His next cavalry unit with cuirassier supporting charged my supported unit I counter charged, destroyed his cavalry and pushed into his cuirassiers and died. My support looking on in disbelief. (Note I swapped the base around putting my models back and removing the grey board. alongside my Cuirassiers.)

His third unit hit my Cuirassiers who fired, rolled a 6 which disordered him and it wasn't saved, in the combat his unit was destroyed. 

End of turn one

Turn Two

My cuirassiers charged his with the cavalry supporting. He destroyed my Cuirassiers and then advanced into their support winning, my unit fell back and he repositioned his cuirassiers. 
[NOTE: I now know they couldn't sweeping advance as they'd not charged or counter charged.]
My flank is now close to breaking but at least I've removed the disordered markers.

My Pike advance towards the centre of the table, although I moved one unit between the hill and town to protect my flanks from the enemy cavalry. whilst the commanded Shotte entered the town.

Whilst on the left flank the dragoons rode toward the woods dismounted and charged Christoph's dragoons, being shot at, a 6, so disordered and failing the moral roll. In the resultant melee, though they lost they held their ground.

End of Parliament's 2nd movement before the royalist cavalry blunt and repulse  the Parliamentary charge

Christoph's second turn and his Centre returned. However his cavalry wing refused to move

At the bottom of the table the Pike moved forwards with their shotte to shoot at the cavalry and disordered them, the dragoon melee continued I lost becoming shaken but held on.

End of turn two
Turn Three

I've rallied one cavalry unit in my cavalry wing and now await a charge.

The commanded shotte has come out of the town to increase it's fire power. The Pikes in the centre advances slowly and the other unit rounds the town with one of it's shotte lining up for a potential traversing shot. Should Christoph's cavalry charge mine.

The stand off at the bottom continues as does the melee, I see I forgot to remove the disordered marker at the end of my turn, no worries it came back.

End Parliament's third turn

In Christoph's turn he moved his infantry forward but couldn't make contact.

He charges his cavalry at me and I do get a traversing shot at the Cuirassiers causing a lucky wound. In the charge both units are shattered. The other charge was a win for my Parliament forces who swept into the supports. Both our divisions were now broken.

However his dragoons did finally win the melee and he disordered my cavalry again.

End of third turn and the game

Time was now against us, so we called it. With all the cavalry off the table I'm not sure how it would have gone, we called it a draw.


Thursday, 5 September 2024

AAR ECW 10mm 4th September 2024

The  last game I played was with combined bases of P&S. 

Whilst this kept things simple as it kept the Shotte with their pike it created issues resulting in less flexibility you couldn’t turn a Shotte unit at the cavalry to protect the pike. So Tony and I decided to rethink it and I went ahead rebasing all my pike units. 

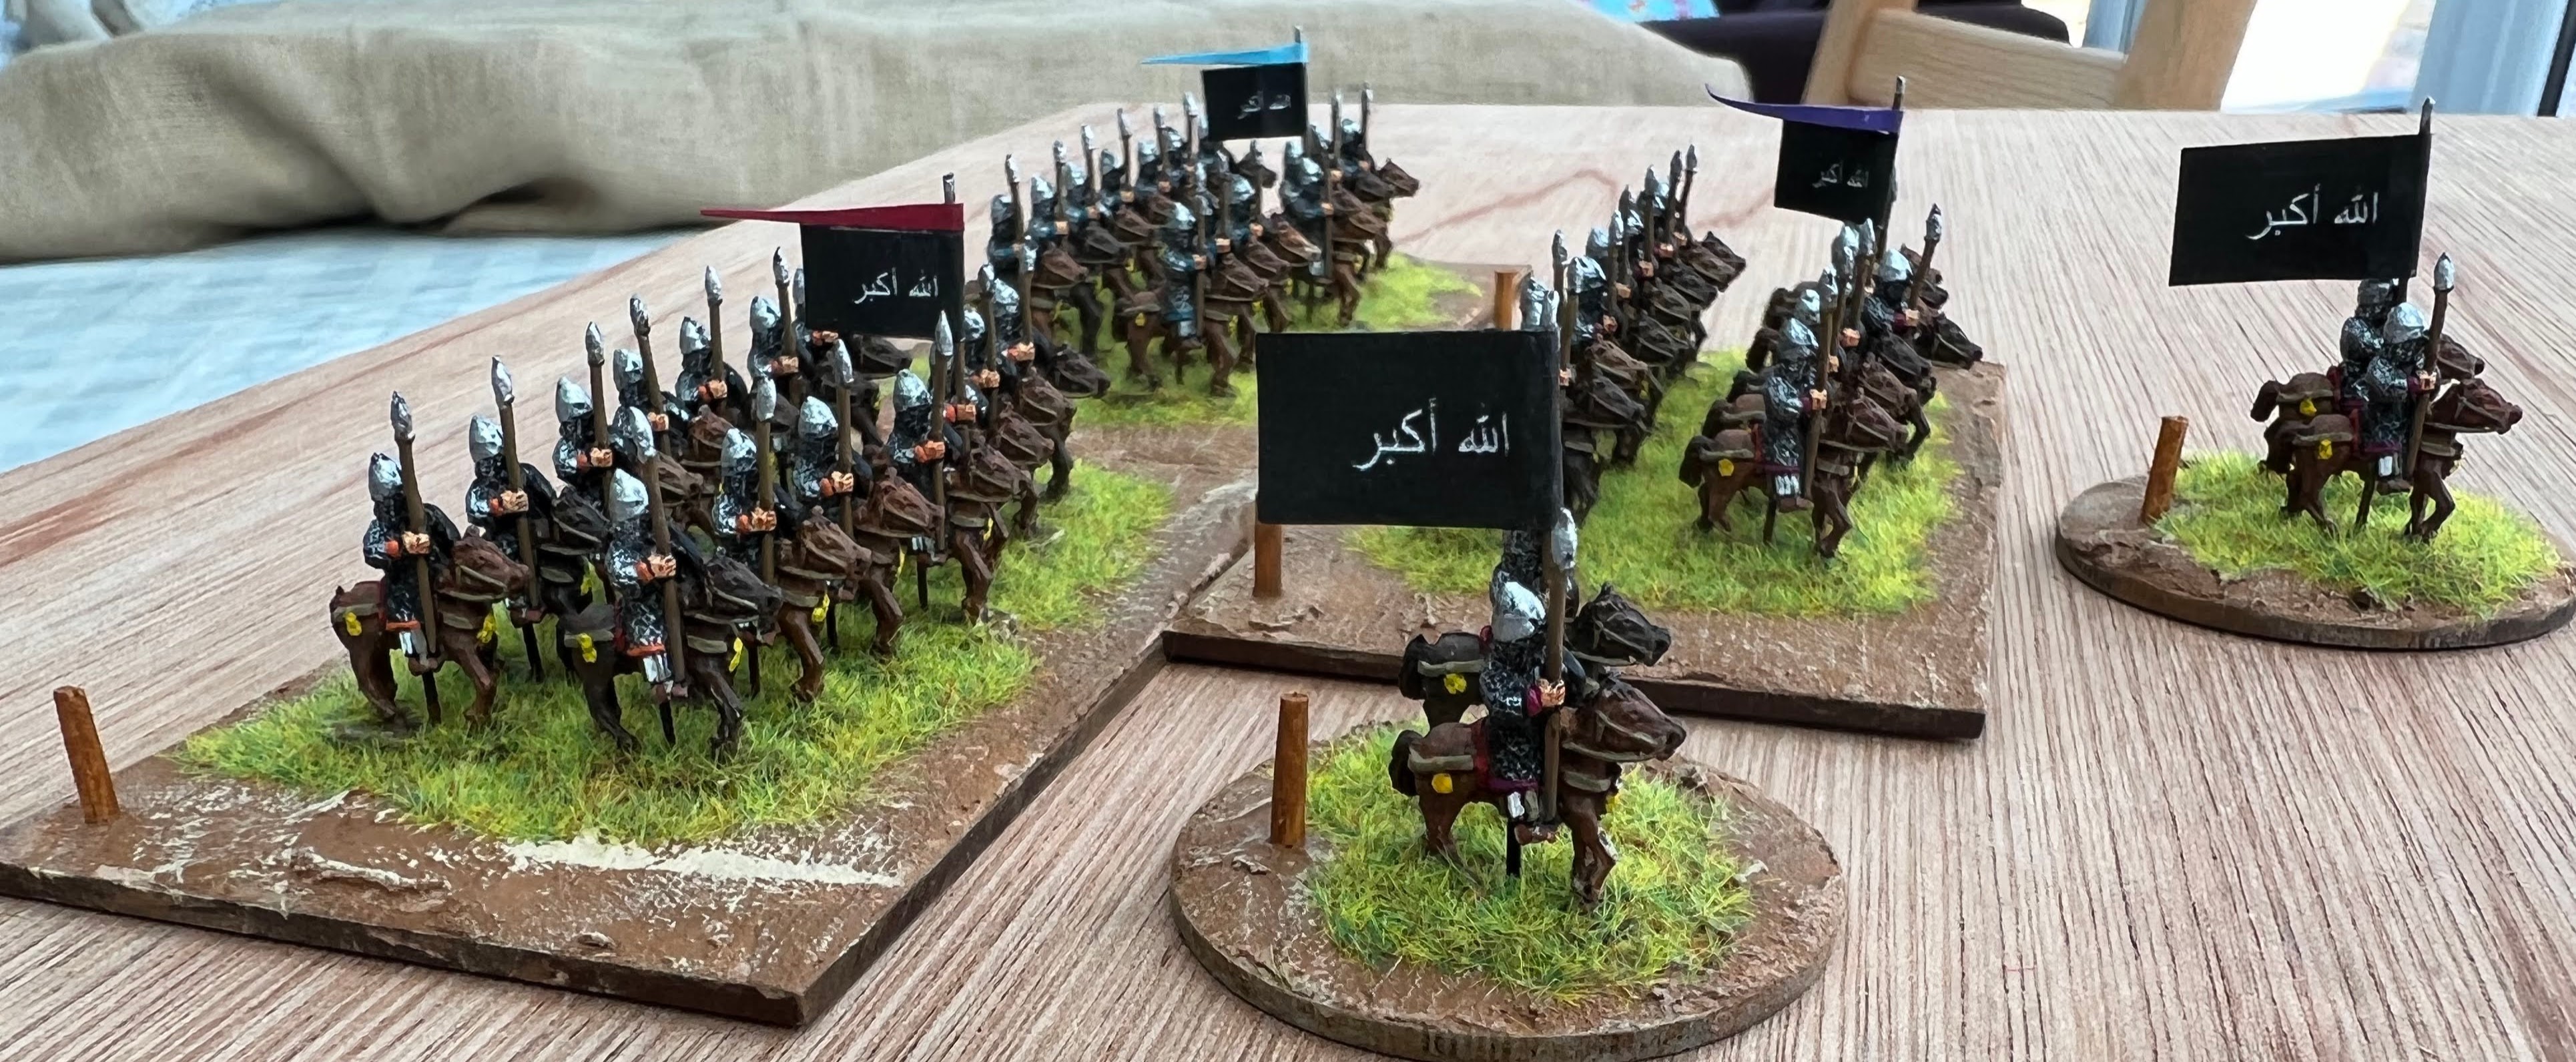
To differentiate between Shotte associated with their Pike we had based them as small units and with less depth than we based others small units of Shotte. 

New Pike & Shotte rather than combined on one base.

I had a chance to test the difference as I played a game last night with the same units on each side as previously used excepting for the new Combined Shotte layout, playing them as sub units rather than combined. 

I've given each side the same amount of units:
4 x  Pike regiments comprising Standard Pike each with two small units of Shotte
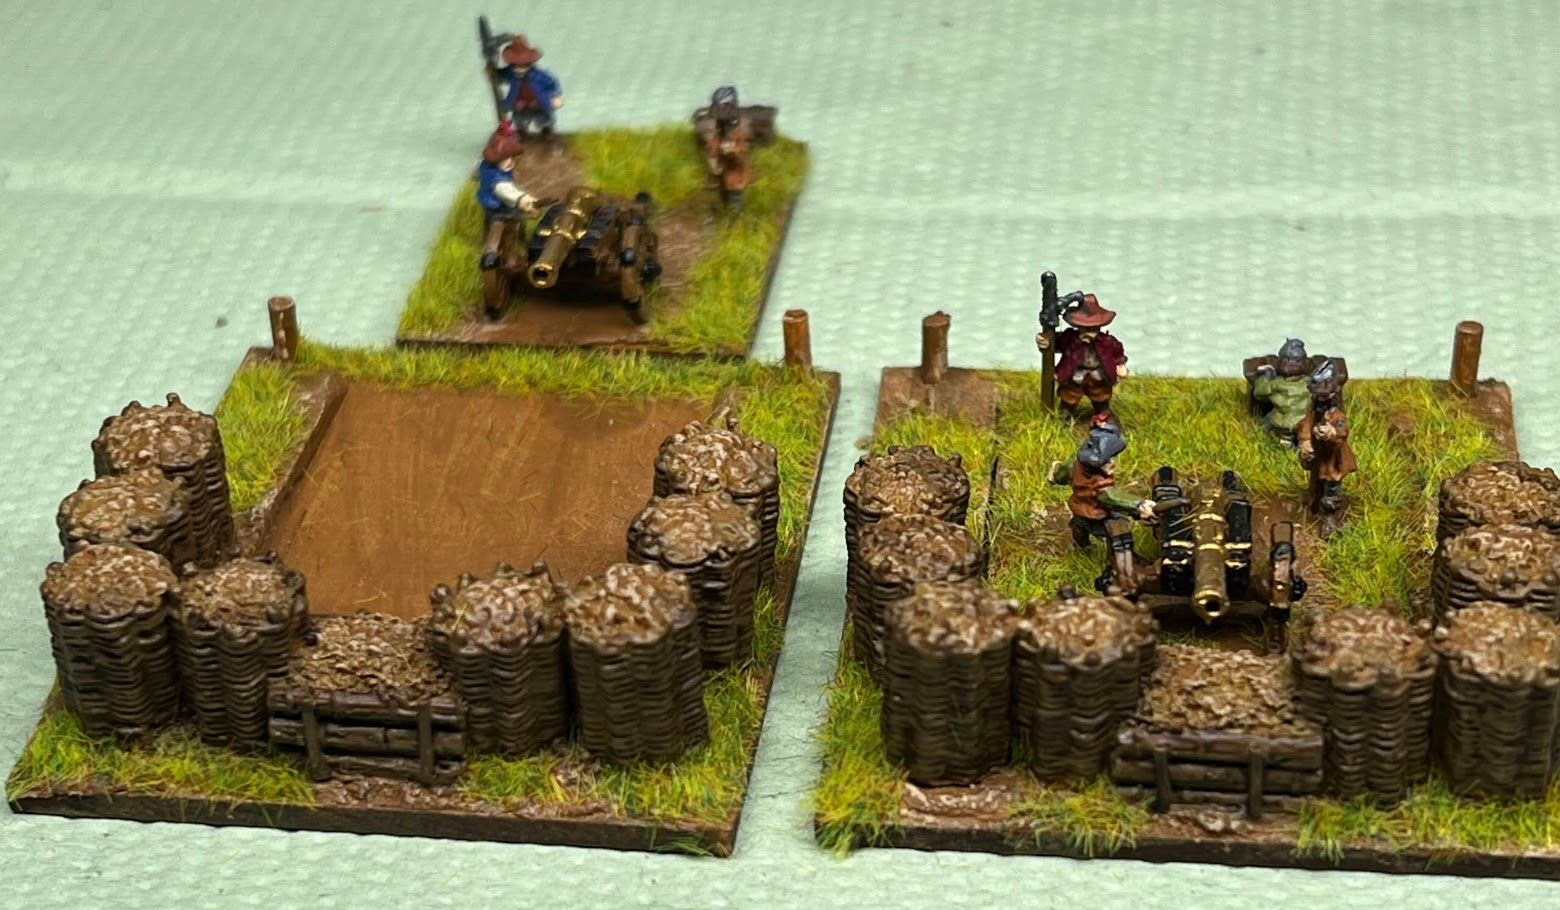
2 x Galloping Guns
1 x Commanded Shotte
4 x Cavalry
1 x Cuirassiers
1 x Dragoons
4 x Shotte to be fielded with the Cavalry
2 x Medium Cannons
All HQs have a command of 8 and CiC has a command of 9.

Set up

Christopher played the Royalists as they had more painted units whilst I played with the temporary wooden Parliament boards; followers will see the increase in actual models to both sides.

Set up Royalist to the left Parliament to the right

Turn one

Whilst Christoph won first turn, as it had been a while since he played P&S he decided to fire some cannon at me, just moving some Shotte forward so he could fire over them and as usual cannon did their thing big bang with no result. 

I wanted to move my centre forward ambitiously indicated a point just under 9” from the enemy and rolled a three so got to move them right up there gallopers couldn’t fire but Shotte could. 

Right flank cavalry top of table only moved once and that was only after the CiC commanded them and then the Shotte. Left flank cavalry moved forwards to be able to charge or counter charge. Dragoons and infantry both moved forwards and in my firing turn a lot of good rolls left a trail of wound markers and disorder tokens. 

Positions at end of turn one

Turn two

Christoph had the worst die rolls. His left flank (top) cavalry only managed to advance one pace towards my cavalry. His right flank (bottom) declined even the CiC couldn’t move them and as a result he just fired all he could at me. 

In my phase. 

Bottom of table, I charged my left cavalry into the flank of his which turned to face. This left his infantry at the foot of the hill unprotected so I charged it in the flank with the other unit.

Dragoons moved to the wood dismounted and went to the far edge to harass the infantry. With such great luck I decided to move the associated Shotte to plug a gap. BLUNDER and they withdrew two full moves to the table edge.  

I instructed the commanded Shotte to do it and they advanced a pace. I chose not to move the central pikes and commanded the cavalry on the right forward rather to charge they moved one pace forward. 

After the shooting the melee was resolved. The Royalist cavalry was defeated retired two paces away, shaken and disordered. A my horse was shaken rather than push forwards I pulled back to avoid losing the unit.. The other cavalry wiped out the first infantry unit then the next as it surged forward I then pulled it back to protect the shaken unit.

After turn two, my Shotte at the bottom is out of shot.😒 You can see the new position of my cavalry as the bottom and the disarray of Christoph's

Turn three

Christoph used initiative to charge the left wing cavalry into mine who counter charged.
He command his right wing cavalry to fall back, the command failed, he command his far right Pike that had been near the destroyed infantry to Hedgehog with the adjacent Shotte, this command also failed. 

He wasn't happy, fortunately his CiC succeeded, commanding first the horse to retire, then the unit to Hedgehog. Then he command the last infantry at the left end of his line to face end of my line, fortunately, but he did shoot it to bits in the shooting phase, it was to be the only unit I lost.

In the cavalry melee both sides were shaken and pulled back behind their supporting horse.

End of Christoph's turn half way through turn three


For my part I charged Christoph's Dragoons the commander failed to move any units in support. On the other wing I decided to use Rally on the shaken unit as I know how quickly a unit and then a division can be lost. 
The Commanded Shotte moved one again to get closer to filling the gap and the CiC commanded the almost off table Shotte units (early blunder) back into play, they moved 12".

In the shooting phase, shattered Chris' Commanded Shotte and a small unit of Shotte near his Pike Hedgehog, if  they'd not been disordered they'd have joined the Hedgehog.

In the cavalry melee at the top the dragoons were almost shattered and fell back behind Chris' already shaken Cavalry. Which I ran into shattering them, I then puled back to the woods. That division was lost with one shattered, one shaken and only one remaining.

That was the end of the game as the other cavalry wing has lost two small Shotte, we counted that as one loss, had a shaken unit and only two sound one, 50/50 loss of another unit would see that division retire from the battle.

Chris felt his commander would retire from the battle to regroup and fight another day.

Final picture before the Royalists started leaving the field.

Conclusions

Separating the Shotte from the Pike rather than having them as a combined base, doubled the shooting and felt far more accurate a game than before.

Next ECW AAR 7th September 2024

Tuesday, 13 August 2024

AAR ECW 10mm 11th August 2024

We played the second of our ECW battles, Tony B was playing for Parliament on the left whilst I fighting for the King was on the right and here is the First AAR

As we are still learning the ropes I set up the table so each side was the same left to right. In the AAR I'll probably refer to the top, or bottom of the table/picture rather than my/his left/right wing. 

I've given each side the same amount of units:
4 x Combined Pike regiments
2 x Galloping Guns
1 x Commanded Shotte
4 x Cavalry
1 x Cuirassiers
1 x Dragoons
4 x Shotte to be fielded with the Cavalry
2 x Medium Cannons
All HQs have a command of 8 and CiC has a command of 9.

Setup
Tony set up quickly and I managed to do the same after him and without looking, not to many differences other than use of the terrain. This photo is of  the game after I've moved just one unit. We'd both put our Cuirassiers on our left flanks and dragoons on the right.


Surprisingly different set ups, considering we have the same terrain and troops.

Turn One
Royalist the top wing advanced one move towards the trees, whilst the Commanded Shotte had to move to the other side of the Cannon, (poor setup) and rolled an 8. The pike line advanced one move and the bottom Cavalry said neigh.

Parliament moved the top wing to discourage my horse, the commanded shotte failed, the Pike advanced but with only one move so some were left behind and the bottom Cavalry rode forth to challenge, neither side managed any shooting.

End of turn one

Turn Two

Royalist 
The top Wing advanced the horse around the wood, the Dragoons rode up to the woods and dismounted then moved to the edge of the woods to shoot the opposing cavalry, whilst the shotte decided to sit this move out. 
The Commanded shot therefore went to the edge of the woods to block off the Cuirassiers. However as the Pike also failed to advance they had no exposed flank to protect, but hurrah the cavalry at the bottom (both Gallopers)  charged forwards into the opposing horse who counter charged whilst their Cuirassiers unable to charge the dragoons advanced to discourage them.
There was a lot of ineffective fire but the Dragoons managed one wound on a cavalry unit.
In the cavalry Melee both Parliamentary Cavalry units broke and the dragoons pushed back. 
The dragoons somehow survived a sweeping advance. 

End Royalist turn two

Parliament 
Prioritised getting the remaining bottom wing out of trouble, with two moves the Shotte went into to the woods and the dragoons dropped back effectively blocking passage. The pike in the centre got two moves and tided up their line. Commanded Shotte were unmoved whilst the cavalry charged the Royals and each side lost a unit.


End parliament turn two

Turn Three

Royalist 

Top Cavalry came around the trees to charge the disordered Parliamentary Cuirassiers in the flank, unfortunately that meant they also hit the unit behind. It ended up as a draw, however as the R. Cavalry was shaken they rolled a break test and failed. 

The pike advanced one move and the 'R' Cuirassiers fell back from the Pike. The other cavalry unit was disordered so stayed where it was, not close enough to withdraw under initiative.

The Royalist shooting was very effective and most Parliament infantry was disordered.

End Royalist turn three

Parliament 

The top wing of cavalry was commanded to go around the woods and roll up the pike and guns. They didn't, however successful shooting from the dragoons and supporting Shotte sent another Royalist cavalry unit at the bottom packing.

Turn Four

Royalist 

Nobody passed a command roll! Fortunately the Commanded shotte has moved under initiative as had the Dragoons and shotte in the woods.

End of Royalist turn four

Parliament 

The Top Cavalry now obeyed and charged around the woods, unfortunately they only got two moves and also were caught by traversing fire and became disordered. 

The Commanded Shotte FINALLY moved! Many Shots were exchanged.

End of Parliament's fourth turn

Fifth Turn - End Game

The Royalist Shotte and Dragoons walked back to the other side of the woods and along with the Commanded Shotte and pivoted cannon blew away the Cuirassiers.

Final Shotte

Conclusion

Another Draw, the game had swung each way, each of us sharing poor dice rolls, but a great game we both enjoyed. - And that's what it is all about.

Next game ECW AAR September 2024


Saturday, 10 August 2024

Polish units for a Kislev style army HC!-FAN

More 10mm miniatures, this time I've completed (if there is such a word in wargaming) a Warmaster Kislev style army for the HC! Fantasy game I'm throwing together.

Economical as always these troops will also be available to fight a Renaissance battle against an Ottoman Turk army, once built, in Pike & Shotte. A

All Models are Pendraken either their 16th C Polish Renaissance range, or their 12mm Fantasy Monster Bears, I went for the unarmoured variant. 

One of the bears may in due course end up as a transformed Wizard, truly there is no end to the madness.

The Hussite War wagons are from Pendraken, Medieval Late European range.

 
Winged Hussars, why else would you have the army?


Zaporozhian Cossack / Axemen


Bear followed up with Polish Horse Archers

Hussite War wagons, two stands make a unit/base positioned either in columns 30mm wide by 200mm long or in Laagered position as in the bottom image 100mm wide x 60mm deep.


See also

Arabic Army for fantasy, HC or even P&S
Lizard Men For Hail Caesar - Lost Children of the Fallen Gods
Orc army based up  rebasing for HC Fantasy


Arab Units for HC!-FAN

I like to consider using armies in multiple scenarios.

These Arabic fighters are destined to fight in a Fantasy HC! version of Warmaster. 

Via a reality warp they could fight Medieval Crusaders in a Hail Caesar! Battle or even skip a century and fight  allied/levied troops with the Ottoman Turk Renaissance Armies in a Pike and Shotte game.

The flags are homemade.


Elephants are from Newline Designs and the Arabic masses from Pendraken Dark Ages


Large Fan Elephant unit with two single based for HC and a command Elephant base.

Heavy Cavalry with a Commands

Medium Cavalry Unit

Arabic Infantry with a command base

Arabic Archers with a command base and a Skirmish line to the front.

See also


Lizard Men For Hail Caesar - Lost Children of the Fallen Gods
Orc army based up  rebasing for HC Fantasy
Polish Army for P&S and a little fantasy  Kislev

Thursday, 25 July 2024

ECW Combined Pike & Shotte - Process

This link P&S in 10mm will take you to the beginnings and end of the process, in fact it took a while to work out how to layout a combine unit, especially as we wanted to avoid sub units that some players allowed to wander off and which also would have to be removed if the main unit was broken.

So we toyed with this idea, a nice big Large unit on a 150mm x 50mm base the Shotte taking up 25mm on each side and Pike 100m in the centre. 


It was then pointed out by the in house expert that there would be:
* Two NCO's and an Officer at the rear to encourage them forwards or stop a rout.
* Additional drummers at each corner of the Pike to 'echo' the Commander's drummer's message. 
* Also there'd be a flag for every Company in the Pike Block, so four flags, at front for parade and the rear for battle. 

So I mocked it up again, this time with painted models.


Some of you might note the men are mounted on thin strips of plastic card, I did this to allow me to move them about without chipping them. I also worked out that if added the basing material and flocked each strip it would make life easier when basing up later.

However it seemed to large and unwieldy to move about on the table and yes I know they were, but this is a game. so we reduced the width of the Pike increasing it's depth to 5 men. Which meant we could base them on a 100mm x 60mm base.

Initially like this 6 x 5 pike.


However it looked too crushed so we lost a rank of Pike and we ended up with this leaving a space between the rows of Shotte.


As Pendraken has no NCO's I shortened the pike squashed the tip and add a little plastic card I now had my Sergeants

.


I based up each strip of men then superglued them to my base later adding the front and rear officers.

If you are interested in doing a similar base here are the measurements.
12mm to the front, five rows of 7.5 mm leaving about 8-9mm at the rear


Pre-basing the strips was a life saver can you imaging basing and flocking between those men?

ECW Three combined Pike & Shotte - For the King

I hadn't realised I'd not added these to my blog in 2022.

 
Anyway for the record I plan to do a fourth combined Pike & Shotte for the Royalists

Henry Bard's, my 1st Pike & Shotte Regiment


Sir Alan Apsley's, my 2nd Pike & Shot Regiment. 


Sir Gerard's, my 3rd Pike & Shotte Regiment.


There were two brothers Charles & Gilbert Gerard and each raised a regiment, both regiments wore blue but I've not determined which brother had what regimental flag.
So this is Sir Charles Gerard's or Sir Gilberts Gerard's colours.
If you know the difference please tell me in the comments.


Wednesday, 24 July 2024

The Cannons Arrive

My Royalist army is getting bigger with the arrival of  their Medium Cannon and Galloper guns, unfortunately for them the Parliamentary guns arrived too.

The range is a little close.


Men and guns from Pendraken and Gabions from Last Man Last Bullet   


I based the guns separately as I wanted to remove them from position of they were destroyed and leave the earthworks etc behind  I'll always try to make things harder.


The Royalist Infantry

Saturday, 20 July 2024

ECW Pike and Shotte 10mm AAR 20th July 2024

Tony B.and I played a game of ECW today, using the Pike & Shotte Rules. We were using a mix of wooden bases and Pendraken models. One day all the models will be painted; in the meantime, this allows us to play a game.

Tony elected to fight for Parliament (grey boards) and we both set up. Tony based all his models on a hill, whilst I lined mine up opposite. The game - Tony chose to redeploy to the foot of the hill and use his stronger fire power to whittle away the Royalists, while I had to get in contact as that is where the royalist strengths lie.

As usual my left flank blundered leaving the table but I managed to get them back in play however my CIC was bouncing from right to left wing trying to get things moving as both wings stumbled forwards. In the end both wings got close enough for Tony to charge them and get to a position to enfilade my left Pike block, with help from his pike and cannon in front of my unit he fired in 16 shots, causing 12 hits sadly his glee was short lived as I saved the majority.

On my left I chased off his cavalry and then revenged myself on the small units of Shotte. In the end his wing was broken as two of five units were broken and the rest were shaken. With nothing to protect the flanks of his pike from my cavalry and Shotte his central position was perilous. On the other flank honours were about even but in the centre my Pike was almost all shaken and suffering.


We should have taken photos, but I wasn’t expecting a game, more of a tutorial, however we managed 5 turns and at the end both side were sufficiently weakened that they’d probably have discretely left the field of battle. So we called a draw. First image is immediately after Tony’s charge on my wings had been repulsed turn 4. The second at the end of the game after turn 5 his broken wing retreating and my centre one 'wound' away from breaking.


The painted combatants

Brigaded Musket Shotte - Standard Unit

Brigaded Musket Shotte - Small unit to support the cavalry

Three units of Royalist combined Pike and Musket

The reason we used boards for unassembled units  ECW Pike & Shotte

Battlegroup WW2 AAR 15th January 2025

Myself and Christoph played our first game of Battlegroup and wanted a game with a minimal number of models rather than jumping in at the de...